


 a
a
Hello there!
Remember my Shoe Designer for a Night post? Now I got a bag! Wondering why I'm spending my precious time cutting, stitching and sticking rather than buying a new and classy bag, it's because I don't have money! Haha XD Well, that's one reason. The major reason is that a few weeks ago, Irish (my HRIM blockmate and friend) said that she will be having a debut party and the theme is peach and cream. She announced it around 2 weeks before the said date so we really have no idea what to wear etc. Thanks to my mom's closet (read: backup closet), I found a simple peach dress! So I had my shoes and my accessories ready but one thing's missing, THE BAG!!!!
I don't have a peach bag nor a "in a good state" clutch bag!
And deep inside, I'm really a frustrated fashion designer when I was a kid. I used to have a scrapbook of outfit cut-outs from newspapers and I also used to draw and design gowns and dresses. I'm proud to tell that some of them became a trend sometime! But I guess I really lack the drawing skills. Nevertheless, I think I'm doing good with designing accessories in my shop Miss Bella Mode. :)
But I had one, this snake skin-like texture wrist bag that my classmate gave me when we were in 1st year HS as an exchange gift. Over time I regularly use it whenever I go anywhere near because it can accommodate all my essentials (hanky, phone and money). So I tend to overuse it and so this what happened to it. It chipped off and faded. And my dad won't even allow me to use it. But it's still intact (no holes or any stuff)! In this picture I already cut off the snake skin cloth from the zipper part.
 |
| Bye bye snake skin clutch! I'm gonna makeover you now! |
Gathering materials from my house, I found this old peach pajama in our closet. When I saw the color I immediately know that it would fit my outfit for that day so I didn't hesitate to use it!
Since this is also a tutorial, I will list down everything you need for this craft:
(Old) Cloth of your choice
Glue gun and glue sticks
Scissors
Laces
Needle and thread
Tarpaulin
and a mom that would never scold you in ruining the stack of clothes instead would give you advice on how to make it better. Haha XD Infairness, she supported me by asking what I'm doing and suggesting that I use tarpaulin inside the bag to make it stable and waterproof. :)
I was my first time to design and make a bag and I didn't have any training or anything like that except that I make clothes for my dolls when I was a kid. This was really a challenge if I could do it and won't give up on the process if I didn't like the result. But at least, I tried right? :)
Here's what I did.
1.) I cut a portion of the PJ and I made sure to measure it first with the original bag.

2.) Sew the sides of the bag to make a pouch

3.) I made pleats(and on the other side) and sew them under the white part, and also the sides (like what it used to look like before). I didn't sew them all, so only the pleats and the sides are attached to the white part. You'll know later why.

4.) Gather some laces (or anything you want to decorate your bag) Mine I bought at Carolina's at SM Megamall. 1/2 yard of the floral lace and 1 yard of the small lace cost P20.50 only!
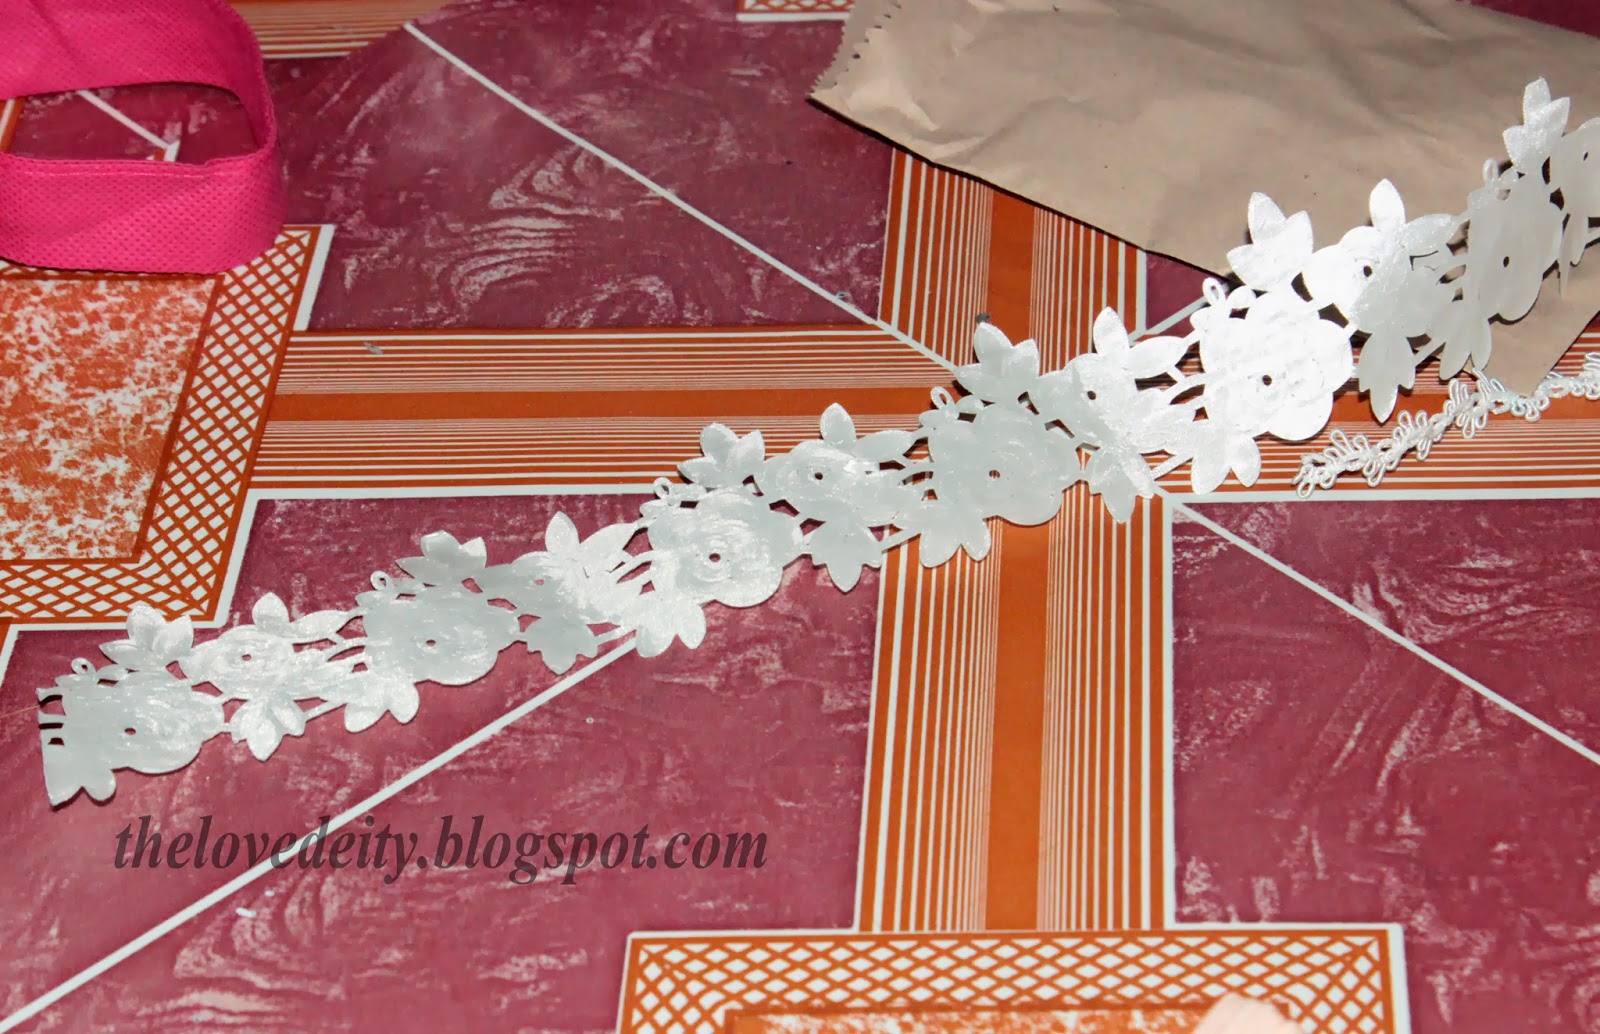
5.)My peg is something around the words floral, peach, fantasy, dreamy and flowing. I think because my dress is so simple and straight that I need a little fun in my bag. hehe XD
So I glued the floral lace on the white part but only the sides and in the middle so you can easily remove it. Why? It's just for you to see how it would look like and where you will add the other lace. And it would be hard for you to sew the other lace if all the floral lace is glued to the white part.
5.) This is what I'm talking about. I sew the small lace in between the peach cloth and the white part.

6.) After that I sew the small laces in their position so they won't fly away or move. It's actually the challenging part because I also need to design and vary their position and length. Somehow my peg went right!


8.) I sew a tarpaulin inside for it to have a body and to be water resistant. :)
Details :)

Here it is! So love!!!

Can you believe that it's from an old pajammyy??? haha XD

Me with the clutch!

I hope you liked this post and you'll be inspired to DIY too! :) Really! It costs less than buying and you can input your design too! That also includes your friends being awed by your talent hahahaha XD (Hi Friendss! I so love you guys!)
Do you like it? Leave your comments below! :))
Love,
MoMo


